Monday, May 6, 2013

Owl Themed Gender Reveal Party

I just realized I never posted about the Owl themed gender reveal party that I hosted for one of my close friends.  It was nice to switch it up and plan a gender reveal party instead of doing the baby shower.  I especially enjoyed being the lone person whoooo knew whether it was pink or blue (sorry I couldn't help myself with the rhyming and owl reference) ;)


The invites: I had some adorable green owl card stock stickers that I acquired awhile ago and since owls and green are both gender neutral I ran with the theme.  I came up with the invite idea, we designed them in illustrator and instead of printing them on my home computer, I used a local print shop to print the invites in color and we (ahem, Charlie) cut them and put them together.  I was thrilled with how they turned out!
The wreath with the front and back of the invite


Centerpiece: My amazingly talented friend Jennigray (the florist at RiverOaks) arranged the centerpiece and gave them to me as a "just because" gift a few days before the party so I scratched my previous centerpiece idea and used this beauty instead.   It went perfectly with my table runner and theme. I also used the teal vases that I bought for another party with some pretty flowers I bought at WholeFoods to bring in some more boyish colors (since it was a gender reveal party and everything)! 


Tablerunner: I bought a yard and a half of fabric at hobby lobby and folded over the cut seams and voila... a table runner!

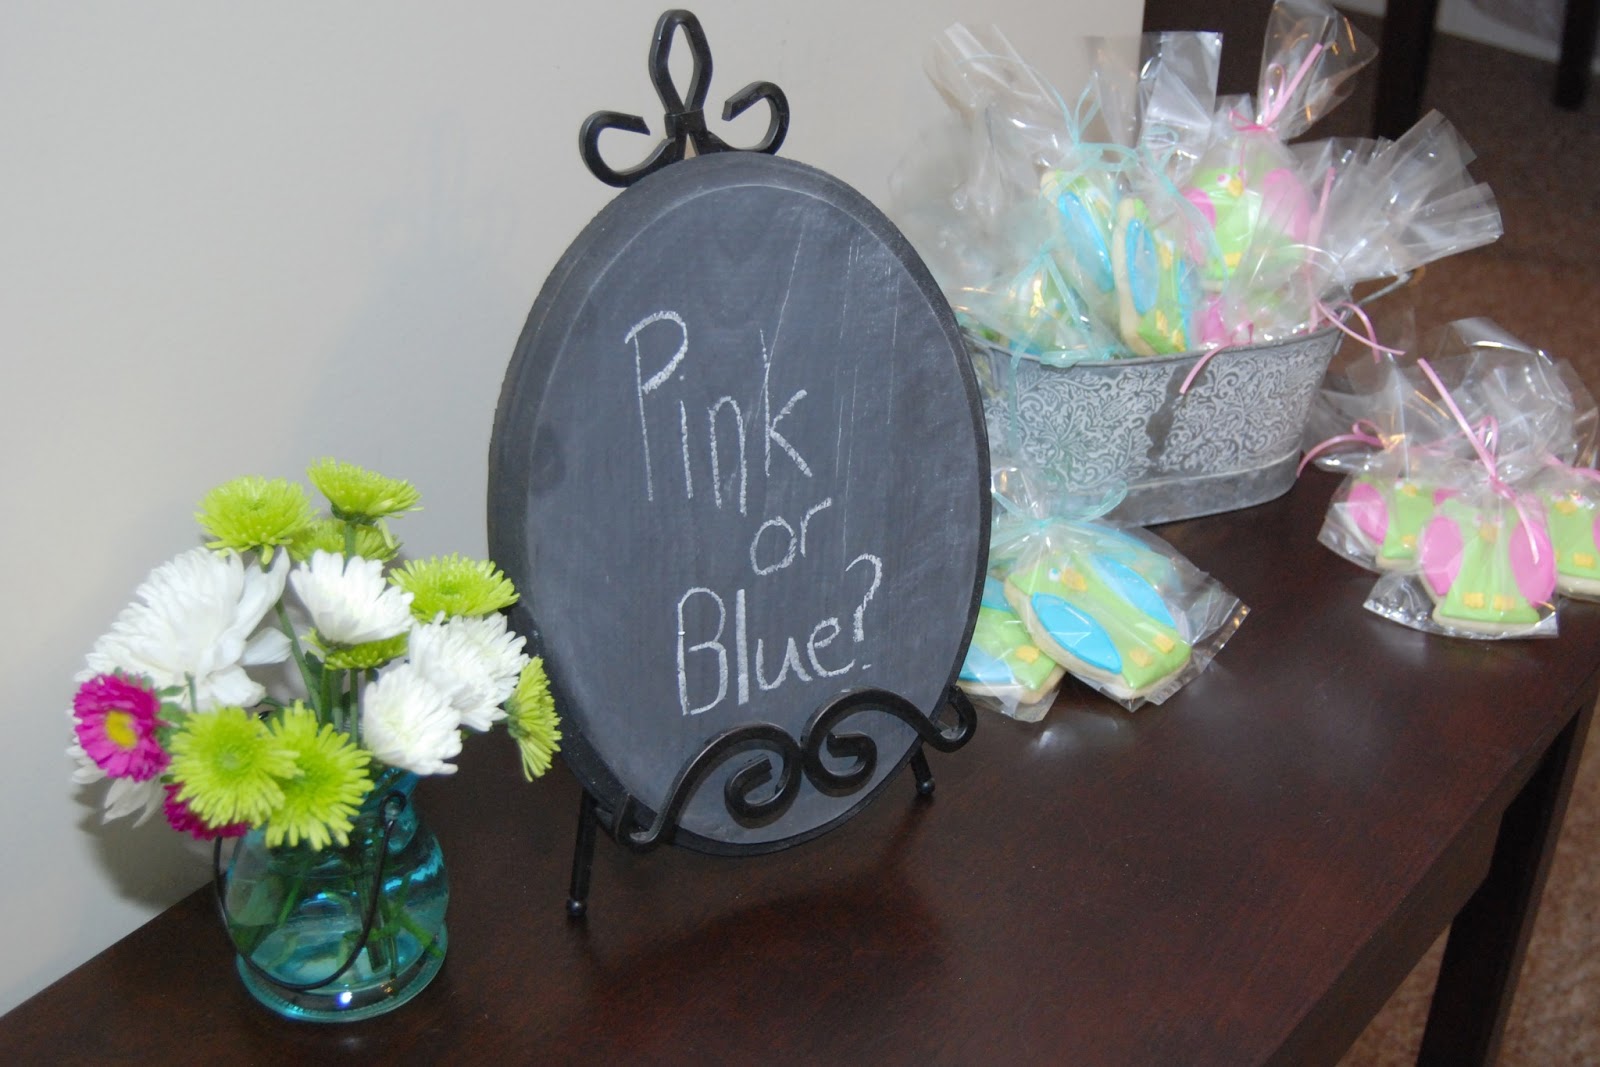
Other Decor: Since the mama-to-be is a school teacher I decided it'd be fun to throw in some chalkboard decor so I bought some wood, a foam board and chalkboard paint and made some signs. I found some owl themed ribbon and some little wooden owls that I used on the foam board to make it look more like a frame.



Themed food: I kept the food pretty simple for this party since it was mid-afternoon and everyone had eaten lunch.  I also made tags for the food out of the same paper I used for the invites.  On the menu... cheese & crackers, Funfetti Dip, Brownie Truffles, a Fruit and yogurt tray, veggie platter, chicken salad, white on white cupcakes, and Pink and blue iced mini chocolate cupcakes.


The favors: I had the always fabulous Pink Magnolia make the owl cookies and had the attendees take the cookie in the color that they thought Jill and Casey were having. 


The reveal: I wrapped a big box with balloons and we went outside to open it and do the big reveal.  I decorated the box using more of the matching paper from the invites.  


I had a "hoot"planning and hosting this owl themed gender reveal party for my sweet friends! I can't wait to hold baby Ethan once he arrives! 


Tuesday, January 22, 2013

Gamecock Football themed Baby Shower

My best friend from college, Oxana, is expecting her baby boy in March.  When she said she wanted a Gamecock baby shower I was a little hesitant.  Even though I LOVE the gamecocks and Carolina football, I didn't know how I was going to keep it classy and cute instead of having the shower look like a tailgate.  Since it was the theme she wanted, I decided to run with it and I was really happy with how everything turned out.

Invites: I decided to make football ticket invitations for the shower.  I usually go with handmade invites but I couldn't come up with anything creative on card stock so I decided to go this route. Charlie (my fabulous and mac savvy husband) made the invitations come to life in Illustrator (with me annoying him over his shoulder) but I couldn't give a tutorial on how to do these if I tried.  If you're interested in re-creating the invites, I'm sure a local invitation shop could help.


Wreath: I used my typical go-to twig wreath and wrapped garnet and black ribbon around it with the football ticket invitation at the bottom.  I also stuck in some football "picks"to add to the theme of the wreath.


Decor: Because Charlie has a "man room" full of Gamecock items, I had an easy time with party decorations! I was also given a ton of USC platters when we got married so I had the table covered there too! I bought some black fabric to use as a table runner over my mom's garnet table cloth and the table theme was set.


Themed Food: I thought it would be cute to have at least one concession type food item so I bought popcorn bags at Party City and had a huge bowl of popcorn on a separate table.  I also brought in the football theme to the table with some football cupcake toppers bought at Party City.  They were actually meant to be "party picks" but they were perfect for cupcake toppers.


 Party Favors: I almost always stick with decorated sugar cookies as party favors and this time was no exception.  The always fabulous Pink Magnolia Bakery did the cookies and I was so excited with how they turned out.  They made the onesies into football jerseys and did the others to match the pregnant mom's top with a little football.


 Games: Instead of a typical baby shower game, I came up with a trivia game about Gamecock sports and sports related questions about the mama-to-be, Oxana, and the winner got a prize.

The shower was so much fun and we had a wonderful turn-out.  Here's a picture of me and the mama-to-be with our garnet and black on... just like the old days!


Wednesday, January 2, 2013

"Little Man" themed shower

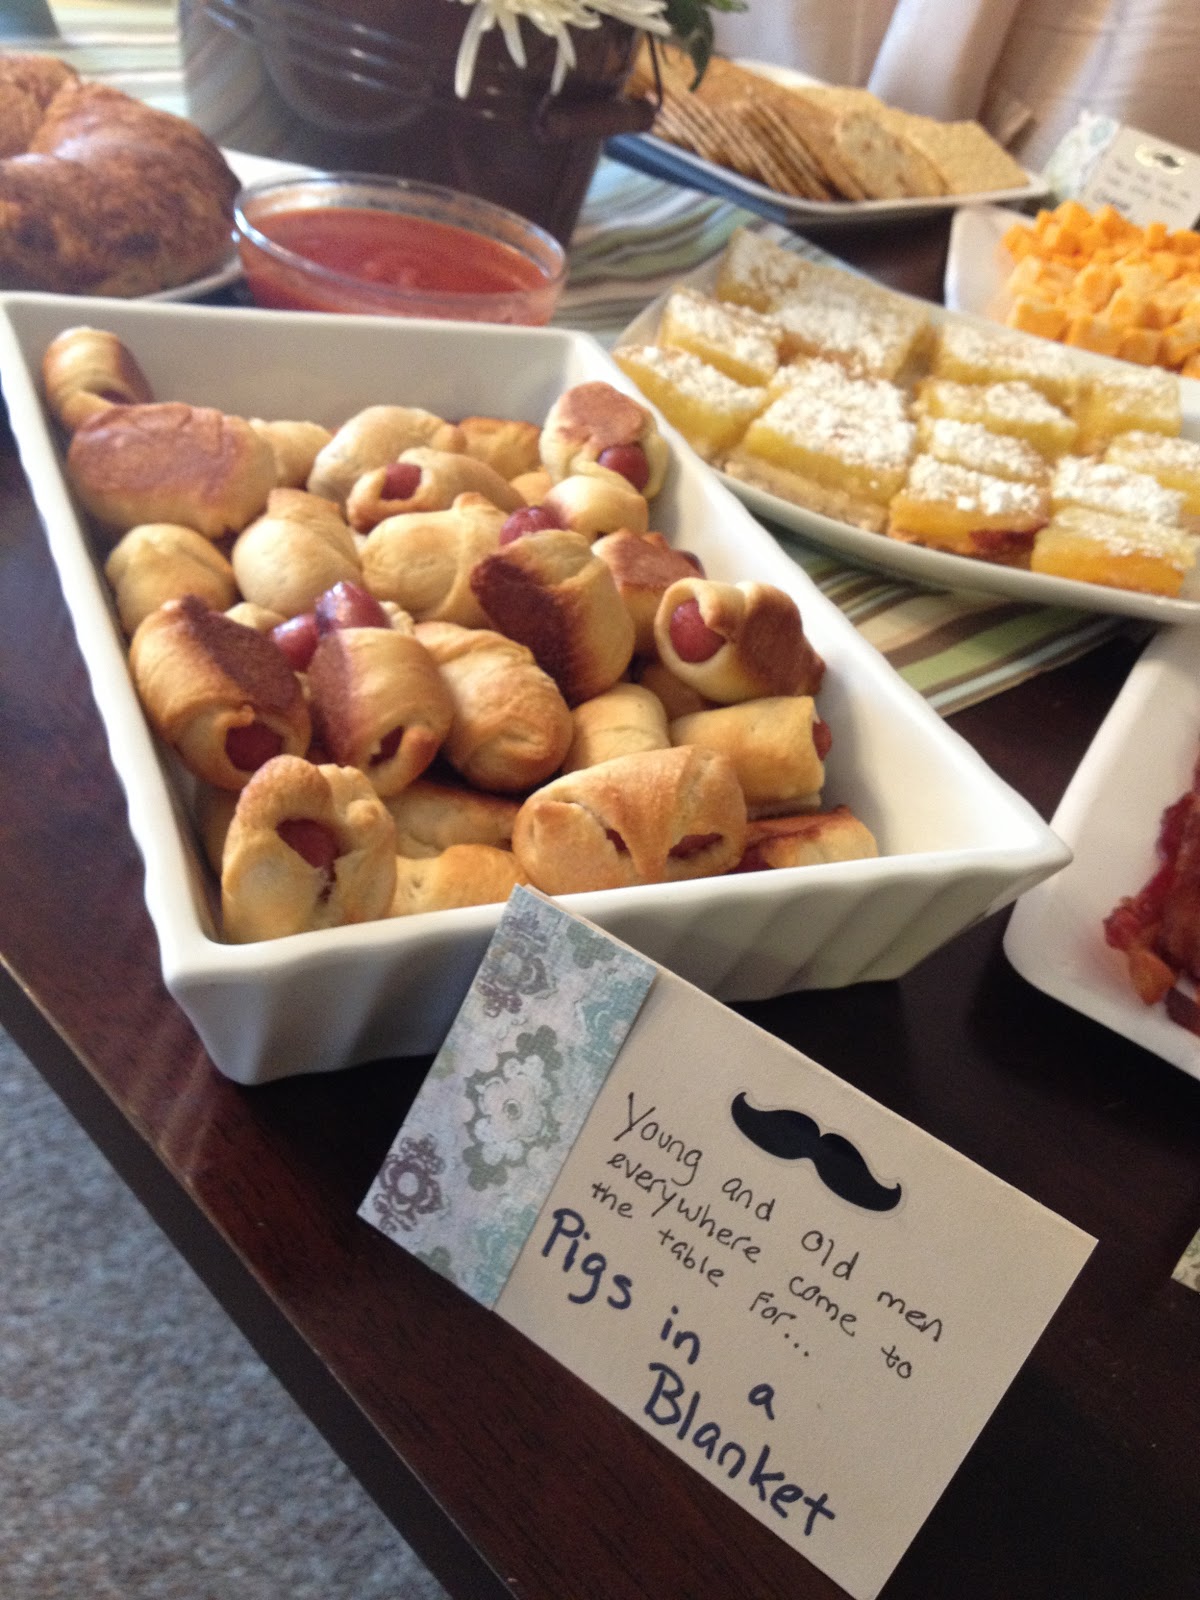
Our sweet friends Mike and Allison are having a little boy and we decided to host a couples baby shower for them.  Since they are having a little boy and most grown men hate attending baby showers we decided to have a "little man" theme complete with mustaches, man food and no baby shower games!  I never thought I'd serve beef jerky and bacon at an afternoon baby shower but they were both a hit with the men!


Here are some of the details from the shower...

The wreath on the front door with the front and back of the invite.  The invite was made in Adobe Illustrator and the back of it was made with cardstock, scrapbook paper and buttons to look like a men's dress shirt.  The wreath was a pre-made styrofoam wrapped in brown ribbon.


On the way in, everyone could "Take a Stache" and wear it for the shower. Packs of mustaches can be found at Party stores and most dollar stores have them as well!

The food table complete with man food!


The backdrop (covering laundry room doors) with my altered onesies to match our theme, I found a pack of onesies that went with my color scheme and cut out ties and used stick-on mustaches to dress them up

 Some of the food with the captioned food tags (made using extra invitation supplies)


I went with simple green and white flowers from Whole Foods and cut them short.  I put them in a brown bucket found at Dollar Tree for the centerpiece.  The table runner was a strip of fabric bought at Hobby Hobby.


Mustache cookie favors by the fabulous Pink Magnolia Bakery

The happy parents-to-be

Tuesday, January 1, 2013

DIY- Cupcake Stand

Since I made my personal blog private, I thought I'd share a tutorial I did awhile back on a cupcake stand that Charlie and I made for my grandmother's 80th birthday bash. 


Before you start this project please know that it is very time consuming but to me, it was definitely worth the time for the finished product. 
Since I absolutely LOVE a theme so I started with the invitation that my grandmother and family designed and started my hunt for the perfect materials. 

Charlie and I went to Hobby Lobby on the search for supplies and we came up with these (plus lots of hot glue): 

I am just going to show the pictures of the steps as they occurred with a few comments, if you'd like to try this and can't figure something out just comment below. 

1.) Hot Glue cake boards together 


2.) Trace larger size cake boards onto fabric.  You'll use the size bigger to cover the tier below (for the bottom tier you'll have to do by hand).3.) Hot glue fabric onto edge of cake boards 

4.) Hot glue ribbon on the side of the cake boards on top of fabric5.) Use hot glue to glue buckets onto center of cake boards 
6.) We discovered that the fabric in the middle caused the stand to not be as sturdy so we used some straight pins to secure stand7.) Use cording to cover hot glue and pins 

Here is the finished product being used at the party: